Project 'Smokey' - '72 Ranger XLT
Moderator: FORDification
- Bullitt74
- Preferred User
- Posts: 430
- Joined: Thu Sep 22, 2016 5:34 pm
- Location: Red Deer, Alberta, Canada
Re: Project 'Smokey' - '72 Ranger XLT
So now to the assembly of the vent windows and getting these doors together...
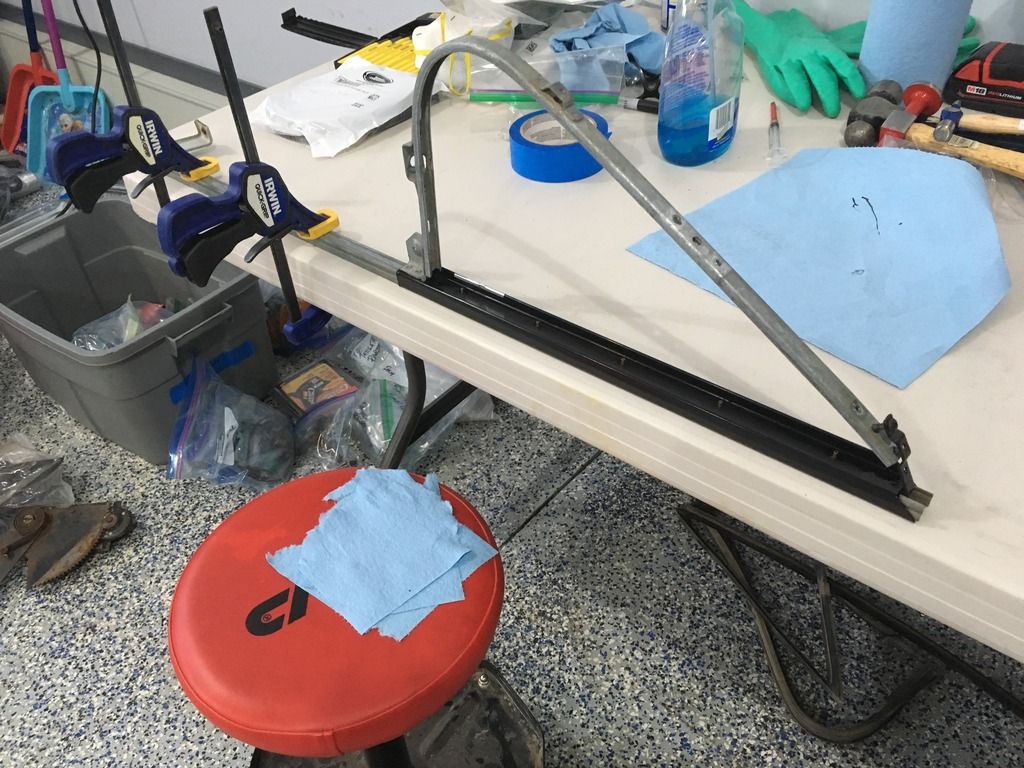
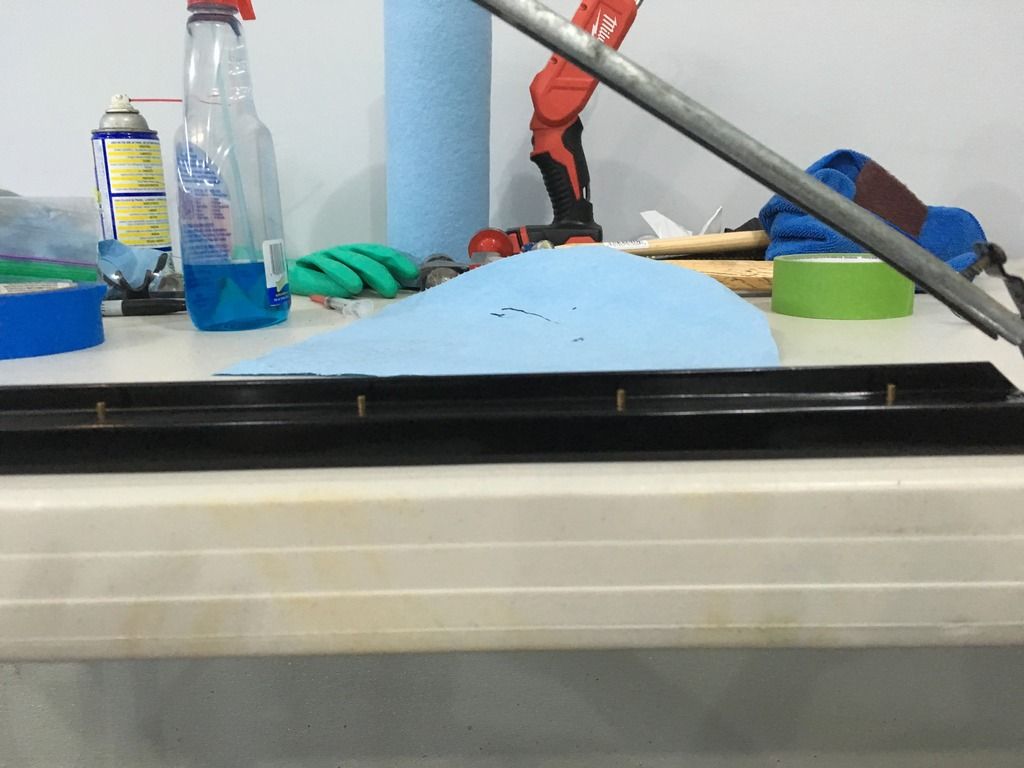
I started by placing the brass rivets in place, and reinstalling the division bar. This held the rivets in place and provided solid backing when I closed the other end of the rivet.
I found these rivets to be a bit frustrating, and didn't quite cinch the vent window gasket to the frame. I used different sizes of centre punches, and even used a tool for breaking apart bike chains (bike guys will know what I'm talking about). I actually think the rivets themselves are not the right ones for this application.
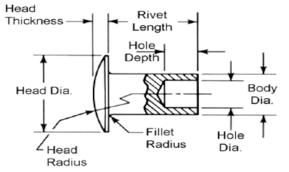
The brass rivets provided in the DC vent gaskets are 'semi-tubular rivets', which mean the part that you open up and flatten is hollow, while the head is attached to a solid part. The solid part might actually too long, and short of having the right kind of punch which flays the hollow portion back behind the solid part of the rivet, it might not be possible to get it tight to the frame. I realized this after the first door assembly, and decided that I needed to glue it in place. I wasn't excited about the prospect of tearing the door apart again, so decided to 'inject' some 3M weatherstrip black adhesive between the frame and the vent gasket, and tape it into place for 24 hours.
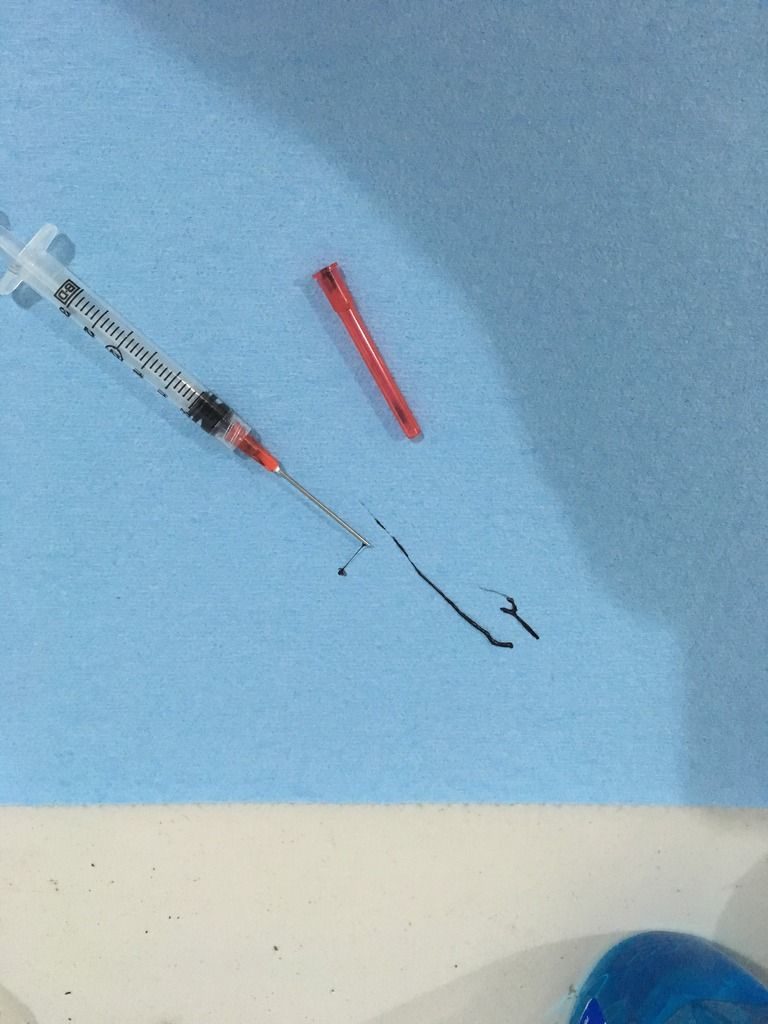
3cc syringe and 18 gauge blunt needle. I'm a hospital pharmacist, so I knew what I needed here. If you plan to do the same, just show this thread to your local community pharmacist...they will probably just shake their head, and proceed to provide you what you need!
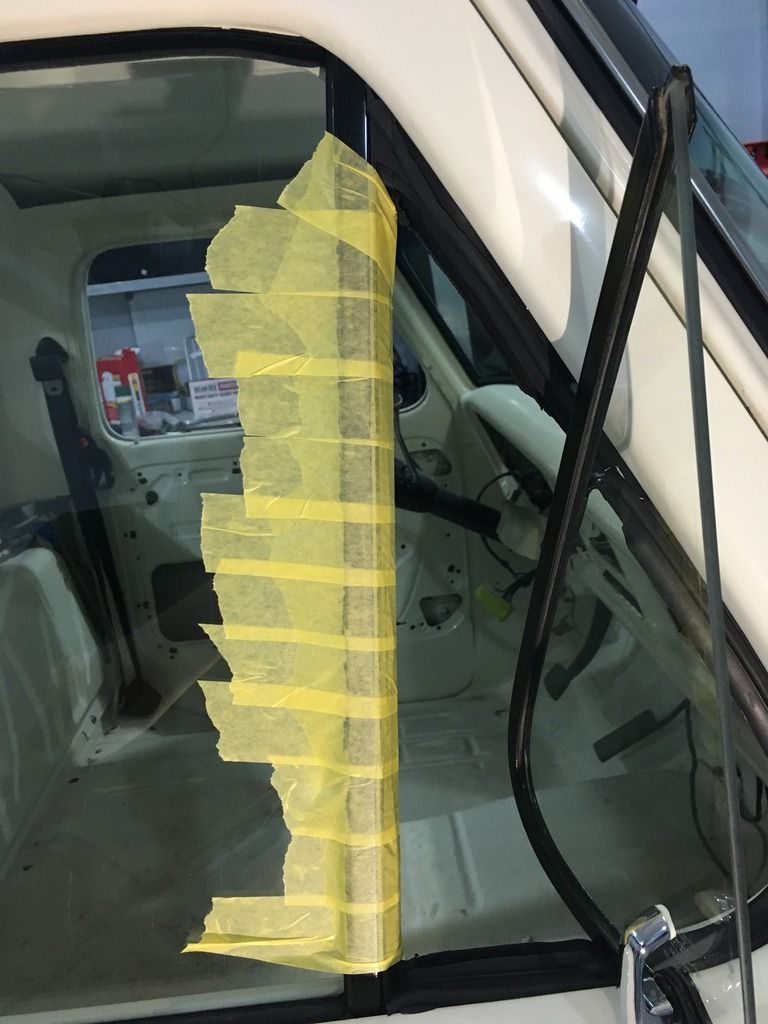
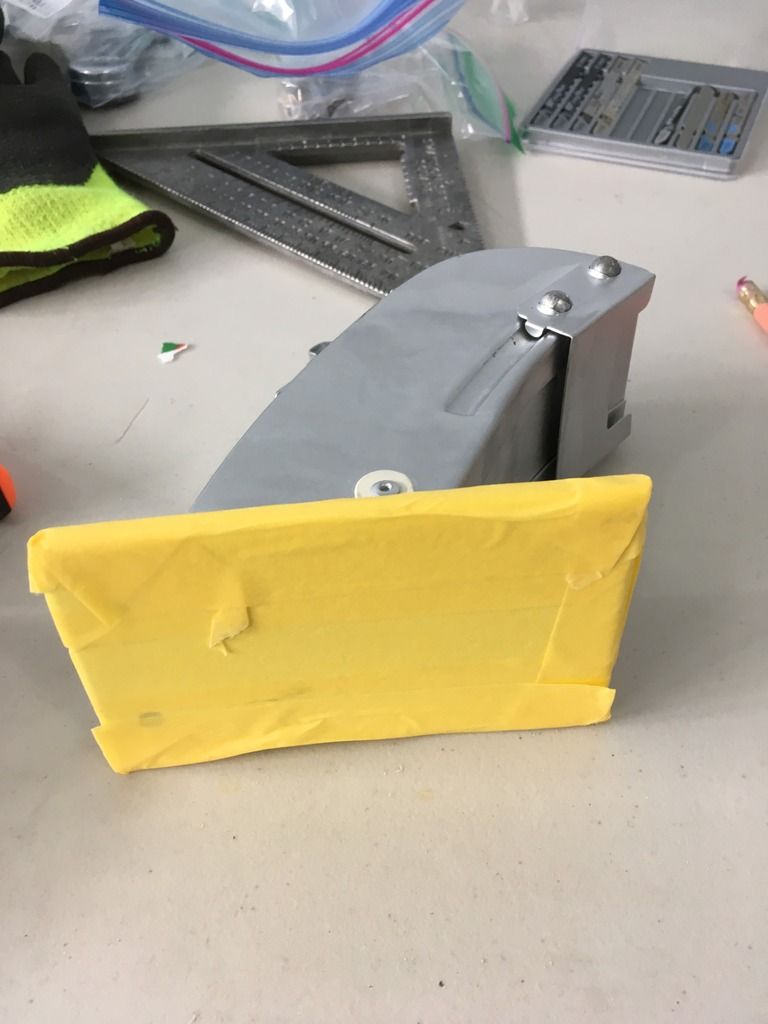
I "injected" a bead of adhesive into the gap between the metal vent frame, and the rubberized metal portion of the seal that the rivets didn't cinch up. The bottom had a bit more gap, and I laid down an extra bead there. I then taped it with some masking for delicate surfaces (relatively new paint) tightly, and left it for 24 hours.
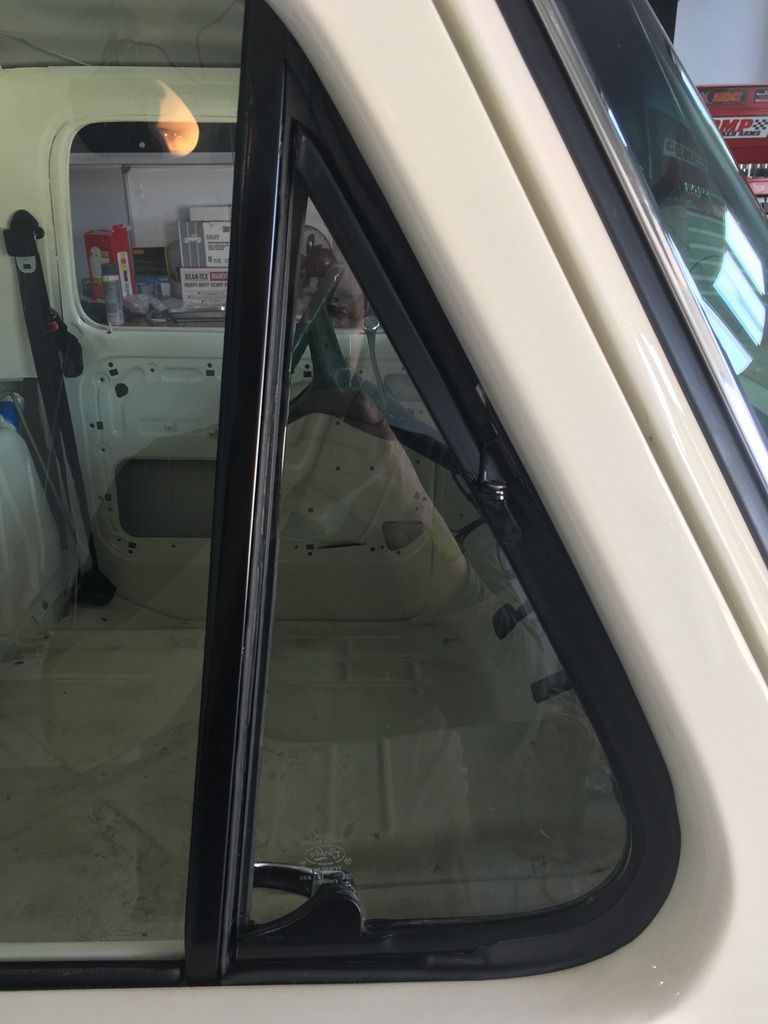
The final result was nice and snug. Hopefully it shouldn't leak or rattle.
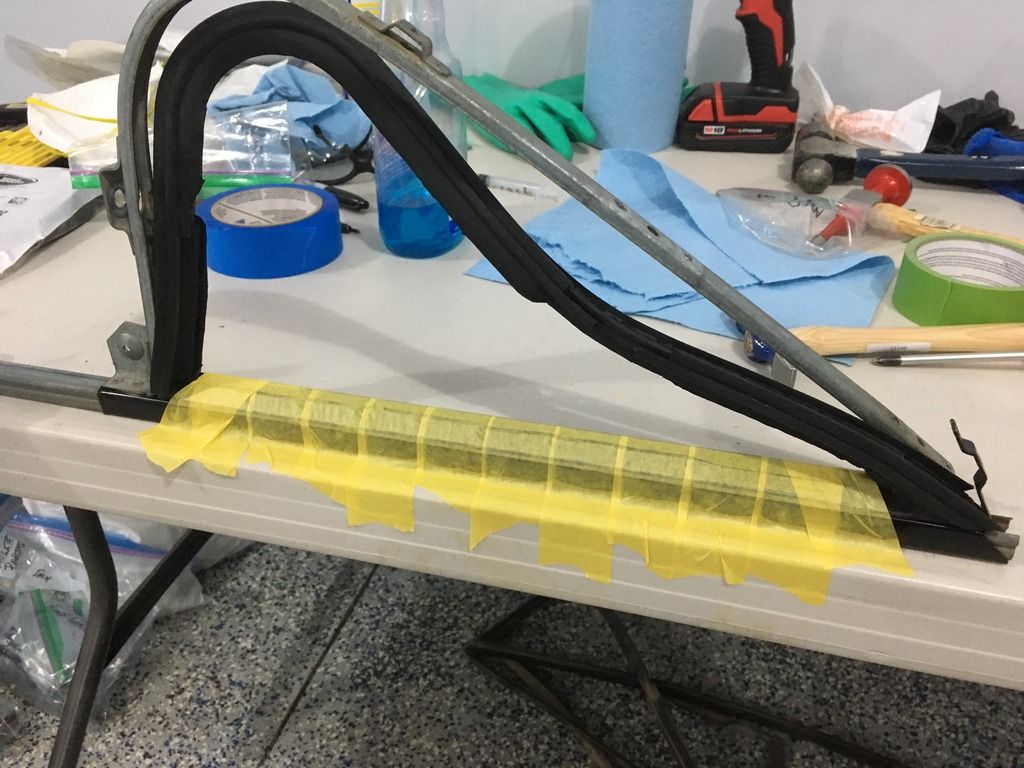
The second vent frame I applied the adhesive before placing the gasket on, then applied the masking tape to hold it down tightly. This process was much more straightforward. Ensure to test fit your gasket before putting glue down, so you aren't trying to adjust rivet locations when the glue is starting to dry. I suggest you mask off your nicely painted vent frames if you're worried about slopping adhesive over your previous work. The frame was finished by installing the division bar glass run, window (take care to install the washers the way they came apart), and some new vent window handles if yours were pitted like mine.
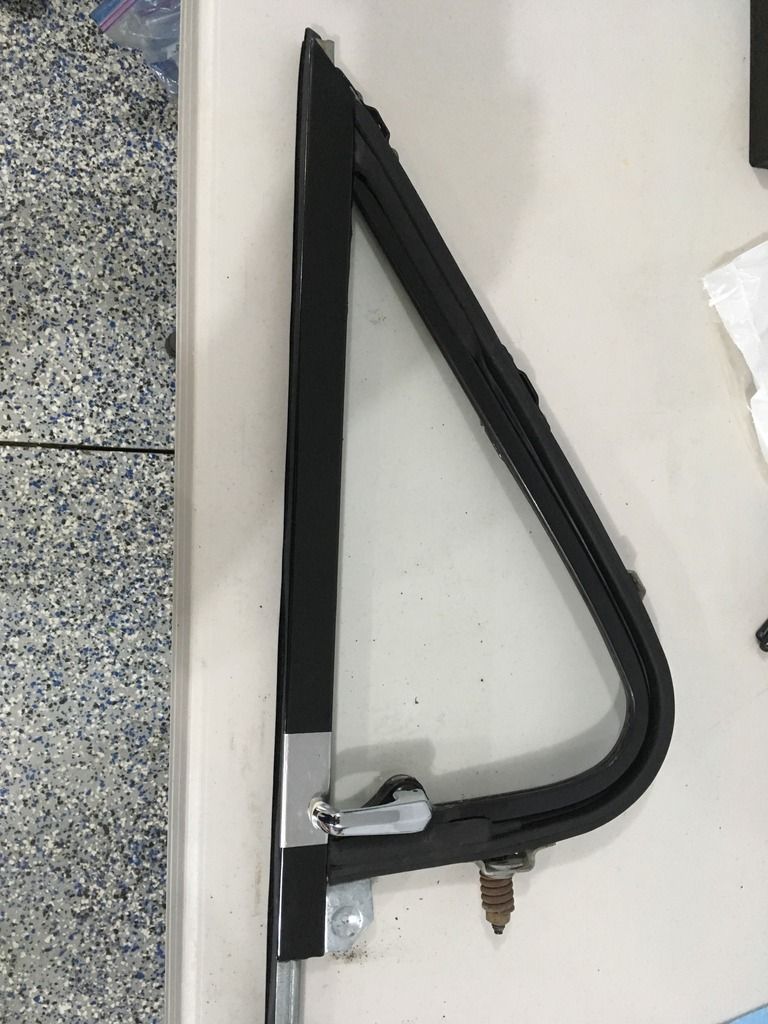
Now that the vent assembly was ready, I will state for the record the order of putting a door back together (ie: learn from my mistakes):
1) Install sound deadener material if you have a chance. I heard along the way that you don't need to do the entire inside of the door for it to be effective (maybe 60-80%). I sealed mine up with aluminum tape (the stuff that HVAC guys use for duct work...NOT duct tape/duck tape/the stuff Red Green uses to fix everything on the planet).
2) Install glass run that runs up the back of the door and along the top. Leave it loose where the vent frame is installed.
3) Install your inner anti-rattler, then the outer. Mask off your door if you don't want your paint buggered up.
4) Gently lower your window through the anti-rattlers by rotating it 90 degrees so the bottom part goes through where your vent window frame will go. Rotate it upright once it is inside the door. Be sure it is the right way, so the curvy part is at the back of the door.
5) Install your vent frame by being on the inside side of the door (NOT the outside). The lower bracket part of the frame that sticks out will need to go between the anti-rattlers a bit, then you should be able to get the division bar into the door. Set into place and fasten loosely with screws. Install the bolt to the bracket at the bottom of the division bar and put into place loosely.
6) Work your glass in place between the glass runs, and move up between the anti-rattlers about halfway. It should stay in place while you tighten the vent window frame fasteners. If it is not tight, have someone hold it in place while you do so the window doesn't slide down and smash.
7) Install the window regulator with just one bolt loosely to start, and get the roller into the channel at the bottom of the window. Then, install the rest of the bolts.
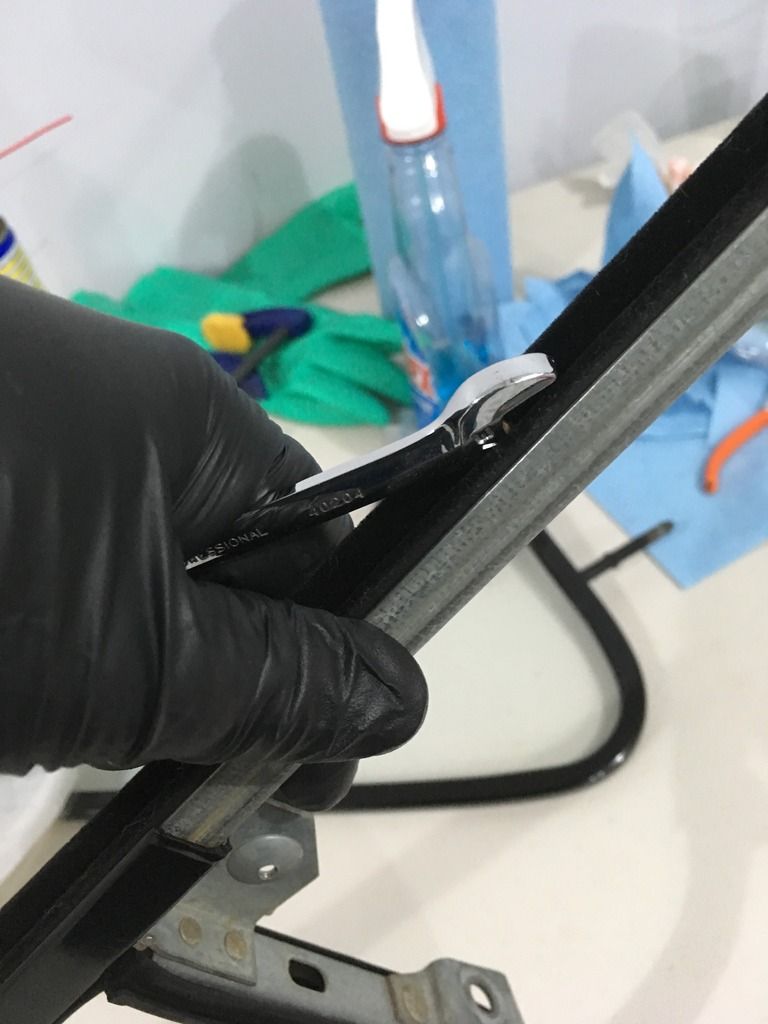
Install the top of the glass run past the top of the vent window frame, as there should be a gap to tuck it past at least an inch.
...oh yeah, almost forgot to mention...use the "appropriate tools" to get the glass run pieces into place...
Done deal...onto the next thing...stereo?
I started by placing the brass rivets in place, and reinstalling the division bar. This held the rivets in place and provided solid backing when I closed the other end of the rivet.
I found these rivets to be a bit frustrating, and didn't quite cinch the vent window gasket to the frame. I used different sizes of centre punches, and even used a tool for breaking apart bike chains (bike guys will know what I'm talking about). I actually think the rivets themselves are not the right ones for this application.
The brass rivets provided in the DC vent gaskets are 'semi-tubular rivets', which mean the part that you open up and flatten is hollow, while the head is attached to a solid part. The solid part might actually too long, and short of having the right kind of punch which flays the hollow portion back behind the solid part of the rivet, it might not be possible to get it tight to the frame. I realized this after the first door assembly, and decided that I needed to glue it in place. I wasn't excited about the prospect of tearing the door apart again, so decided to 'inject' some 3M weatherstrip black adhesive between the frame and the vent gasket, and tape it into place for 24 hours.
3cc syringe and 18 gauge blunt needle. I'm a hospital pharmacist, so I knew what I needed here. If you plan to do the same, just show this thread to your local community pharmacist...they will probably just shake their head, and proceed to provide you what you need!
I "injected" a bead of adhesive into the gap between the metal vent frame, and the rubberized metal portion of the seal that the rivets didn't cinch up. The bottom had a bit more gap, and I laid down an extra bead there. I then taped it with some masking for delicate surfaces (relatively new paint) tightly, and left it for 24 hours.
The final result was nice and snug. Hopefully it shouldn't leak or rattle.
The second vent frame I applied the adhesive before placing the gasket on, then applied the masking tape to hold it down tightly. This process was much more straightforward. Ensure to test fit your gasket before putting glue down, so you aren't trying to adjust rivet locations when the glue is starting to dry. I suggest you mask off your nicely painted vent frames if you're worried about slopping adhesive over your previous work. The frame was finished by installing the division bar glass run, window (take care to install the washers the way they came apart), and some new vent window handles if yours were pitted like mine.
Now that the vent assembly was ready, I will state for the record the order of putting a door back together (ie: learn from my mistakes):
1) Install sound deadener material if you have a chance. I heard along the way that you don't need to do the entire inside of the door for it to be effective (maybe 60-80%). I sealed mine up with aluminum tape (the stuff that HVAC guys use for duct work...NOT duct tape/duck tape/the stuff Red Green uses to fix everything on the planet).
2) Install glass run that runs up the back of the door and along the top. Leave it loose where the vent frame is installed.
3) Install your inner anti-rattler, then the outer. Mask off your door if you don't want your paint buggered up.
4) Gently lower your window through the anti-rattlers by rotating it 90 degrees so the bottom part goes through where your vent window frame will go. Rotate it upright once it is inside the door. Be sure it is the right way, so the curvy part is at the back of the door.
5) Install your vent frame by being on the inside side of the door (NOT the outside). The lower bracket part of the frame that sticks out will need to go between the anti-rattlers a bit, then you should be able to get the division bar into the door. Set into place and fasten loosely with screws. Install the bolt to the bracket at the bottom of the division bar and put into place loosely.
6) Work your glass in place between the glass runs, and move up between the anti-rattlers about halfway. It should stay in place while you tighten the vent window frame fasteners. If it is not tight, have someone hold it in place while you do so the window doesn't slide down and smash.
7) Install the window regulator with just one bolt loosely to start, and get the roller into the channel at the bottom of the window. Then, install the rest of the bolts.
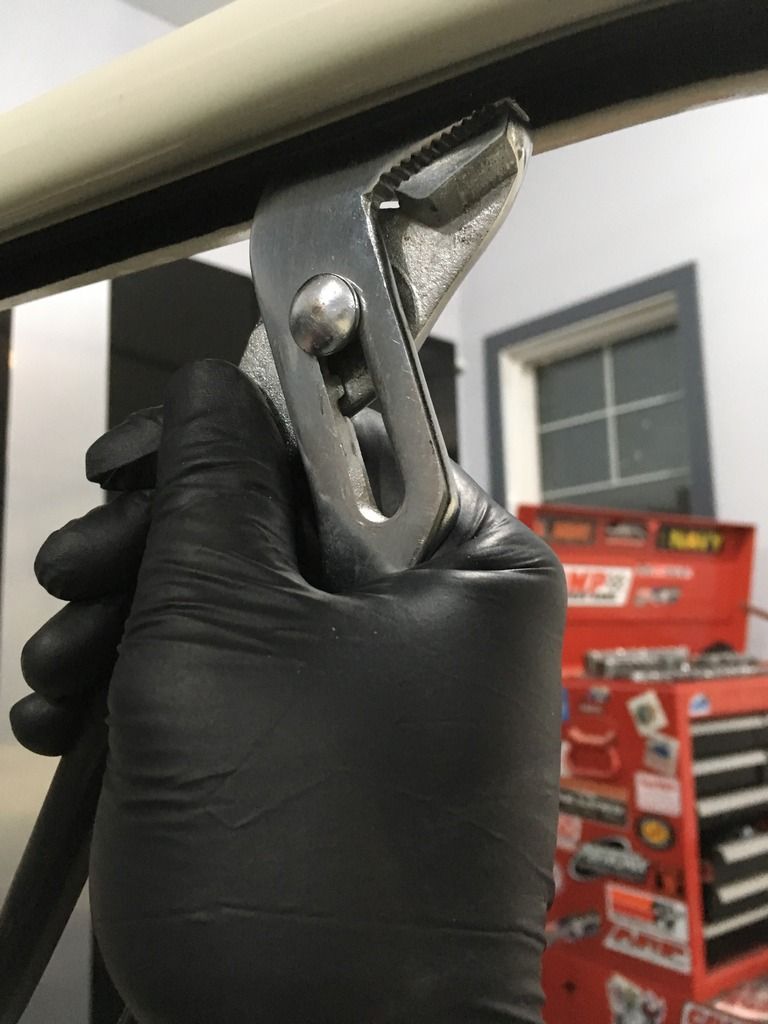
Install the top of the glass run past the top of the vent window frame, as there should be a gap to tuck it past at least an inch.
...oh yeah, almost forgot to mention...use the "appropriate tools" to get the glass run pieces into place...
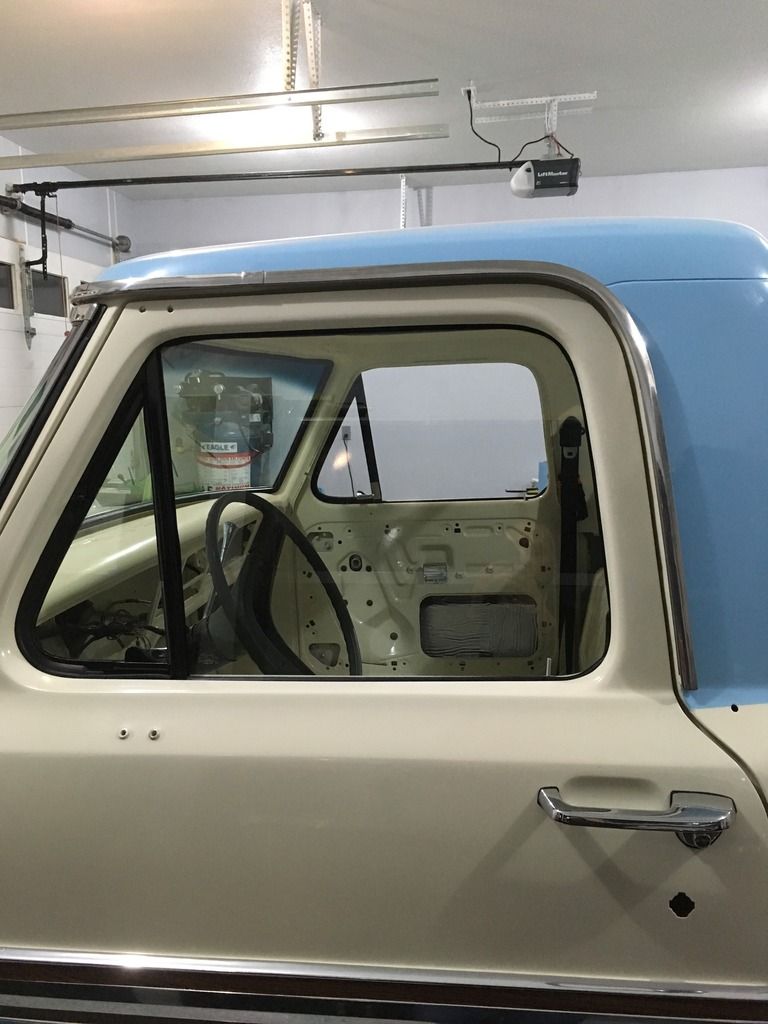
Done deal...onto the next thing...stereo?
Steve F.
Red Deer, Alberta, Canada
'72 Ranger XLT, 4x2, 390-2V, C6, Wind blue & Wimbledon White (‘Smokey’)
2016 F150 Lariat FX4 Supercrew, Ruby Red
Follow my build thread for 'Smokey': http://fordification.com/forum/viewtopi ... 22&t=85070
Red Deer, Alberta, Canada
'72 Ranger XLT, 4x2, 390-2V, C6, Wind blue & Wimbledon White (‘Smokey’)
2016 F150 Lariat FX4 Supercrew, Ruby Red
Follow my build thread for 'Smokey': http://fordification.com/forum/viewtopi ... 22&t=85070
- Bullitt74
- Preferred User
- Posts: 430
- Joined: Thu Sep 22, 2016 5:34 pm
- Location: Red Deer, Alberta, Canada
Re: Project 'Smokey' - '72 Ranger XLT
Yup. Stereo...
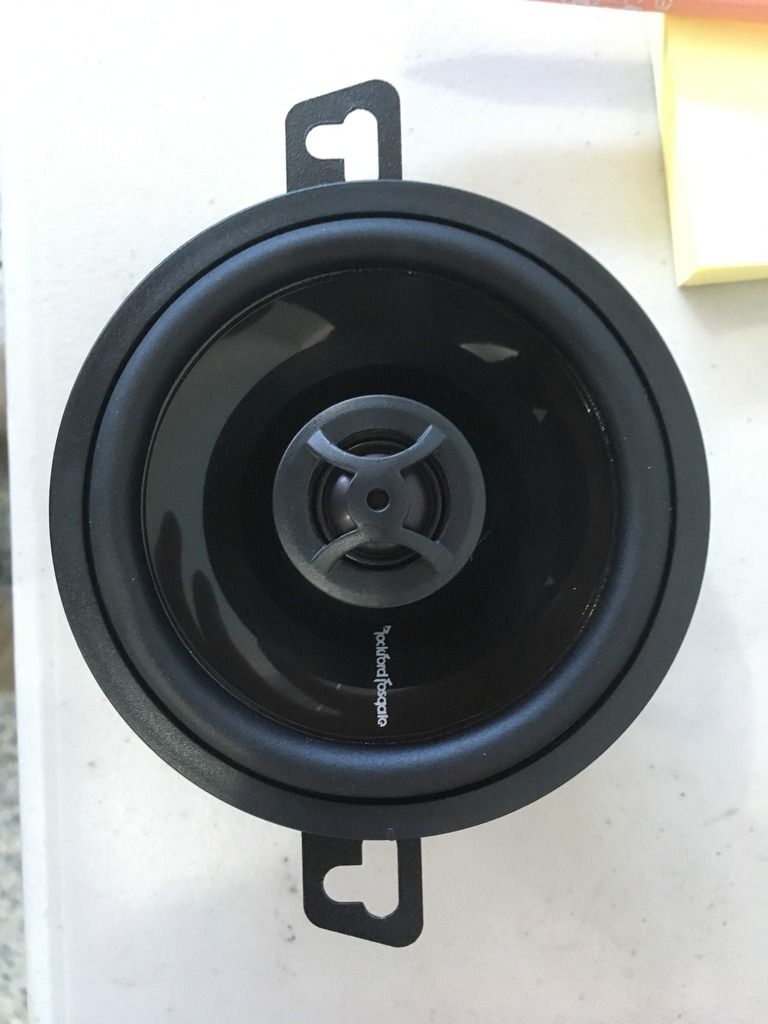
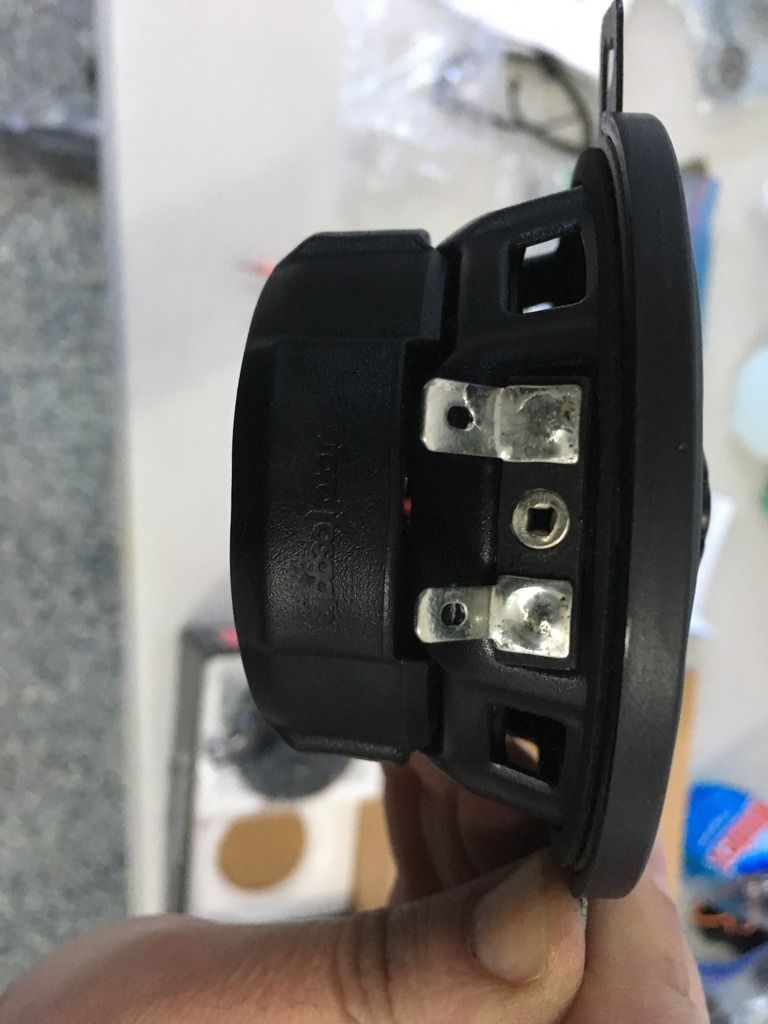
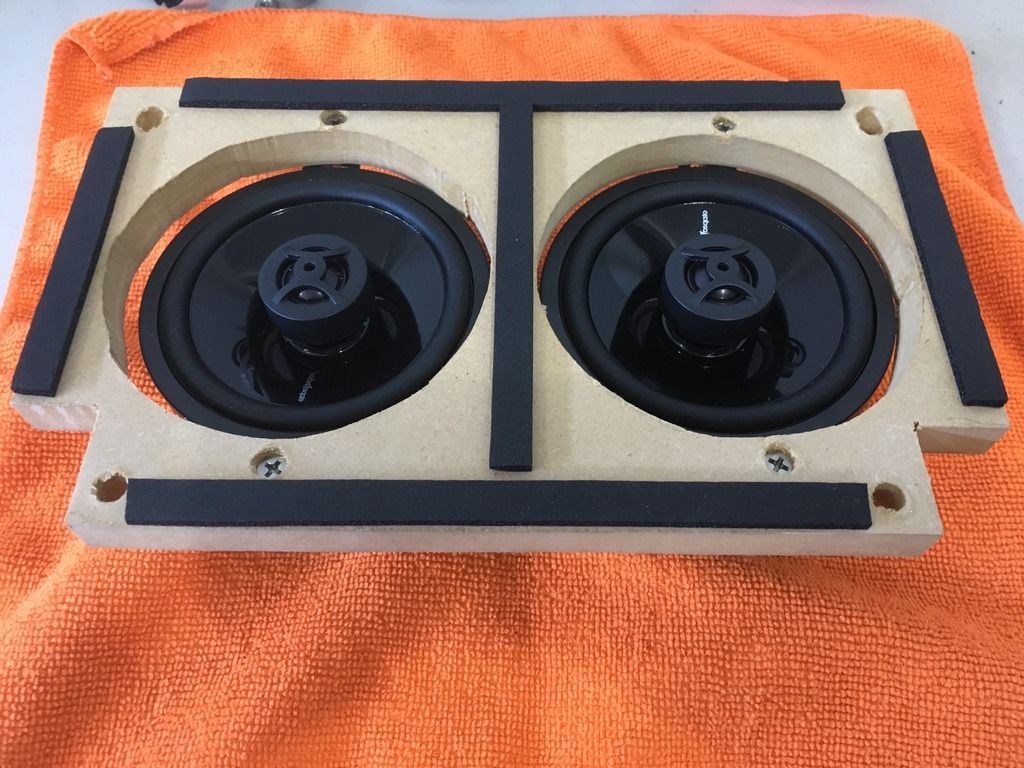
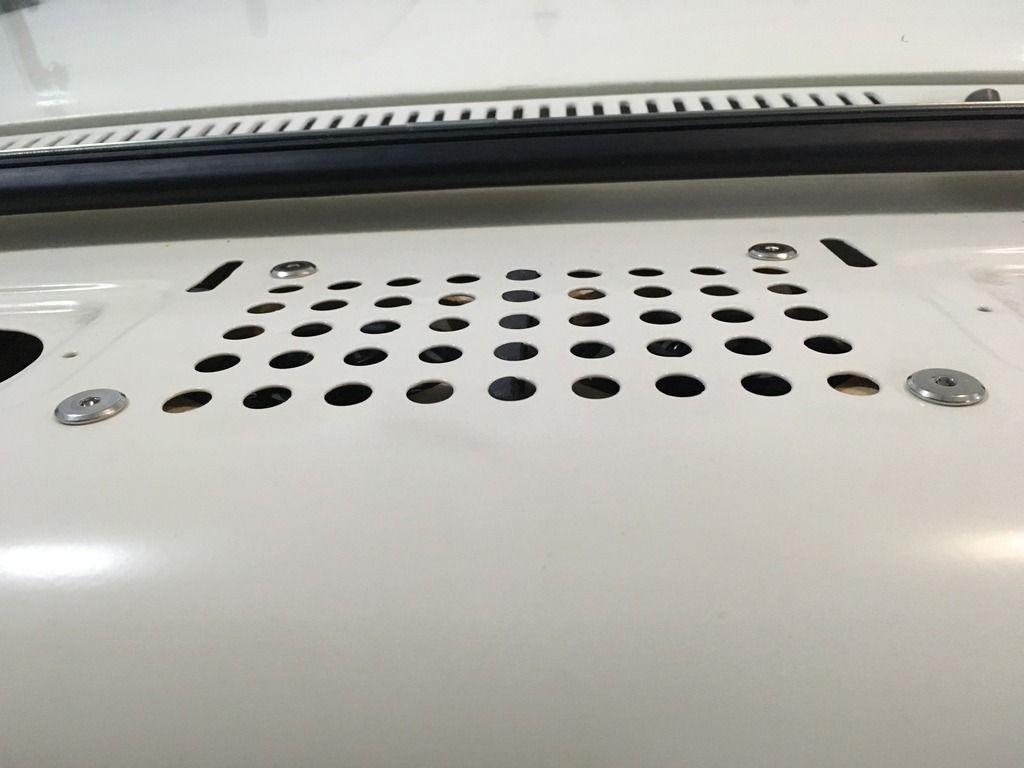
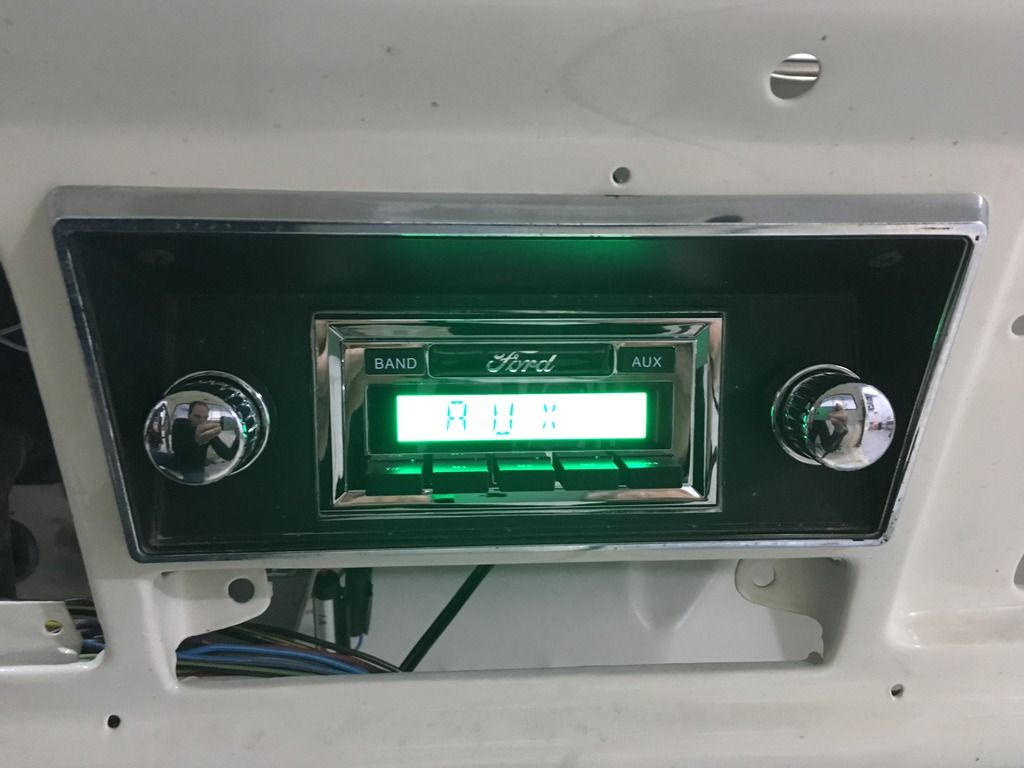
The head unit I'm using is the standard Custom Autosound USA-230, which is no frills AM/FM plus auxillary plug for the iPhone or iPod, etc. That is simple enough, but the tough part was making the two Rockford Fosgate P132 speakers fit in the dash where the old speaker was.
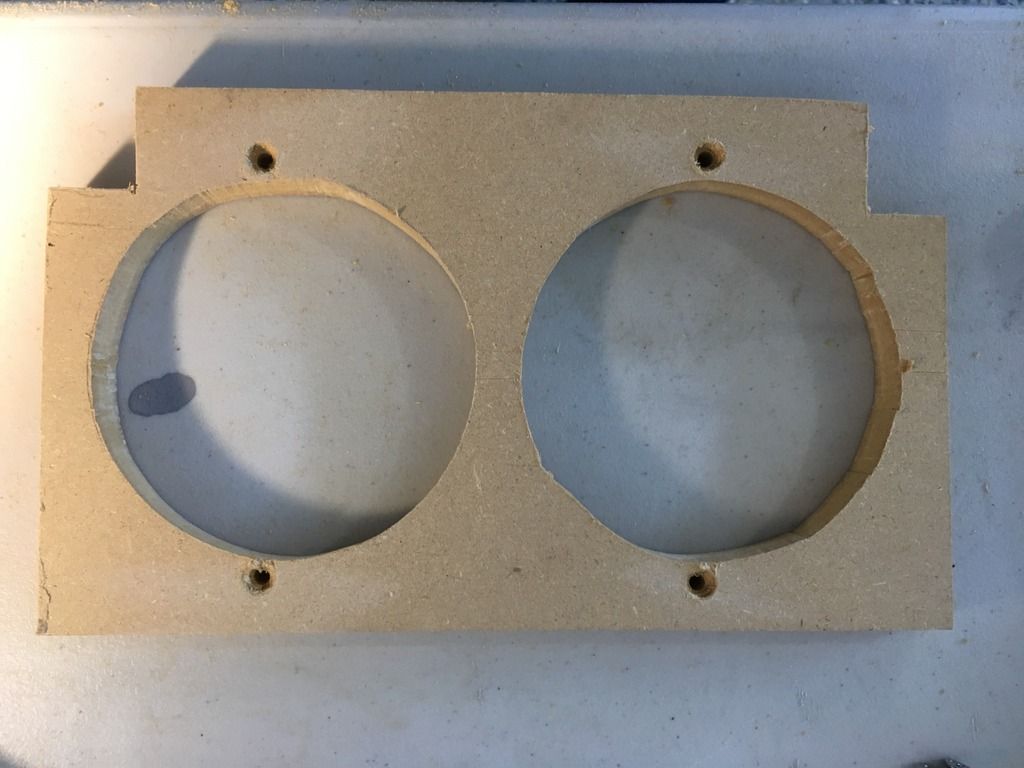
I fabricated this up out of 5/8" MDF that I had laying around the garage.
Not terribly pretty, but it's going under the dash...don't care about aesthetics.
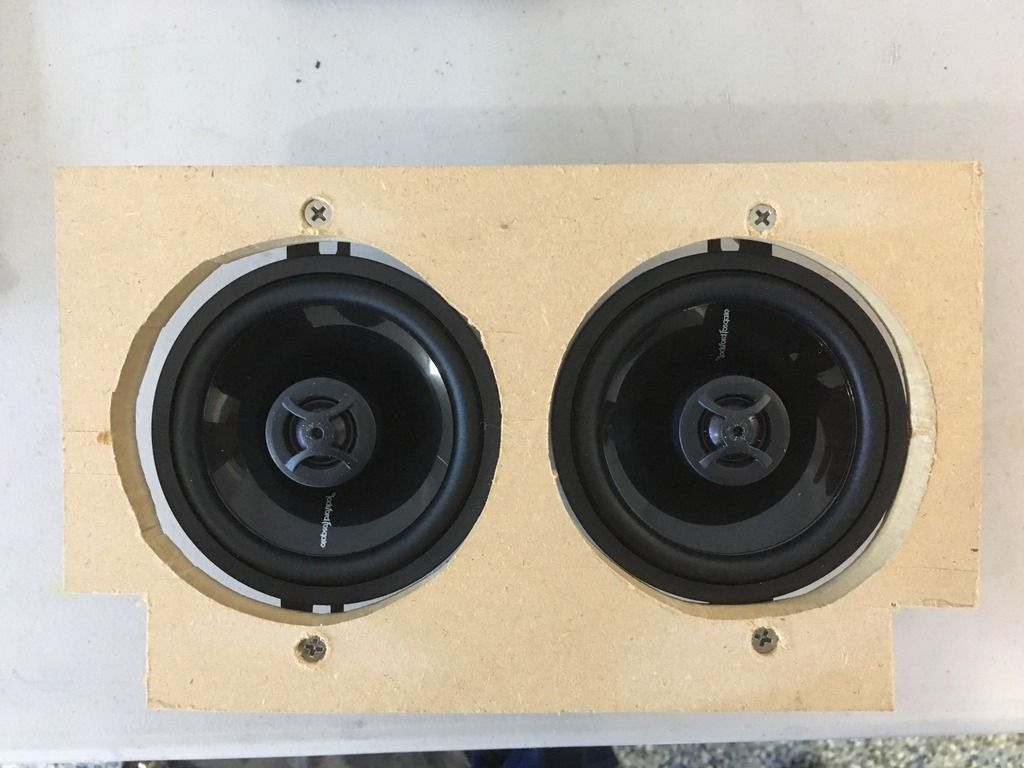
The final product - I did end up putting 2 more layers of foam tape in it so the speakers weren't touching the dash.
Bolts with a low profile head, which should hopefully not interfere with the dash pad.
The final step was putting the knobs on - felt good to get that job done, as it took the majority of the day today. These speakers are certainly an upgrade from the factory setup, but won't blow the doors off - that's for sure. I mainly needed FM, as there aren't too many options for AM radio around here. There is a country music station from Drumheller, AB but it plays mainly old (70's, 80's) country music, which is good for a while. Sundays they cover the rodeo all day, which is tough to listen to. Now I can have some choices.
I plan to install the antenna next, and run the aux input through the ashtray (seeming that I won't use the ashtray for anything else...)
Steve F.
Red Deer, Alberta, Canada
'72 Ranger XLT, 4x2, 390-2V, C6, Wind blue & Wimbledon White (‘Smokey’)
2016 F150 Lariat FX4 Supercrew, Ruby Red
Follow my build thread for 'Smokey': http://fordification.com/forum/viewtopi ... 22&t=85070
Red Deer, Alberta, Canada
'72 Ranger XLT, 4x2, 390-2V, C6, Wind blue & Wimbledon White (‘Smokey’)
2016 F150 Lariat FX4 Supercrew, Ruby Red
Follow my build thread for 'Smokey': http://fordification.com/forum/viewtopi ... 22&t=85070
- DuckRyder
- Moderator
- Posts: 4925
- Joined: Mon Jul 19, 2004 3:04 pm
- Location: Scruffy City
- Contact:
Re: Project 'Smokey' - '72 Ranger XLT
Nice... I’m probably late to the party here, but it would be good to seal the speakers to the mounting plate to isolate the front and back of the cones.
Robert
1972 F100 Ranger XLT (445/C6/9” 3.50 Truetrac)
"An unarmed man can only flee from evil, and evil is not overcome by fleeing from it." -- Jeff Cooper
1972 F100 Ranger XLT (445/C6/9” 3.50 Truetrac)
"An unarmed man can only flee from evil, and evil is not overcome by fleeing from it." -- Jeff Cooper
- Bullitt74
- Preferred User
- Posts: 430
- Joined: Thu Sep 22, 2016 5:34 pm
- Location: Red Deer, Alberta, Canada
Re: Project 'Smokey' - '72 Ranger XLT
Yeah, not sure if I to go through the trouble of taking them out again. Do you think that would make a difference?...as they sound about what I expected. Not sure how to seal them in as my car audio knowledge is very basic - do you have any ideas?DuckRyder wrote:Nice... I’m probably late to the party here, but it would be good to seal the speakers to the mounting plate to isolate the front and back of the cones.
Steve F.
Red Deer, Alberta, Canada
'72 Ranger XLT, 4x2, 390-2V, C6, Wind blue & Wimbledon White (‘Smokey’)
2016 F150 Lariat FX4 Supercrew, Ruby Red
Follow my build thread for 'Smokey': http://fordification.com/forum/viewtopi ... 22&t=85070
Red Deer, Alberta, Canada
'72 Ranger XLT, 4x2, 390-2V, C6, Wind blue & Wimbledon White (‘Smokey’)
2016 F150 Lariat FX4 Supercrew, Ruby Red
Follow my build thread for 'Smokey': http://fordification.com/forum/viewtopi ... 22&t=85070
- DuckRyder
- Moderator
- Posts: 4925
- Joined: Mon Jul 19, 2004 3:04 pm
- Location: Scruffy City
- Contact:
Re: Project 'Smokey' - '72 Ranger XLT
Theoretically it would definitely make a difference in the frequency range of the woofer cone...
Practically in such a small speaker in what is already a subpar location I don’t really know, possibly.
Ideas about how to address:
1) cut plate out of thin plastic metal or ply with holes for speakers smaller that the actual speaker so that it seals on the gasket surface on the speaker.
2) packing the gap between the mounting plate and speaker with foam tape would help
3) a company named XTP (IIRC) makes foam offer surrounds that could be used.
It might be possible to do 2) without taking the whole thing back apart....
Robert
1972 F100 Ranger XLT (445/C6/9” 3.50 Truetrac)
"An unarmed man can only flee from evil, and evil is not overcome by fleeing from it." -- Jeff Cooper
1972 F100 Ranger XLT (445/C6/9” 3.50 Truetrac)
"An unarmed man can only flee from evil, and evil is not overcome by fleeing from it." -- Jeff Cooper
- Bullitt74
- Preferred User
- Posts: 430
- Joined: Thu Sep 22, 2016 5:34 pm
- Location: Red Deer, Alberta, Canada
Re: Project 'Smokey' - '72 Ranger XLT
Thought about this, and I know myself well enough to know that if I pull the speaker unit out, I'll probably just redo it completely. I'd be disappointed if I went through the bother with no detectable difference in sound.
Appreciate the advice, but I need to keep moving on this old girl!
Steve F.
Red Deer, Alberta, Canada
'72 Ranger XLT, 4x2, 390-2V, C6, Wind blue & Wimbledon White (‘Smokey’)
2016 F150 Lariat FX4 Supercrew, Ruby Red
Follow my build thread for 'Smokey': http://fordification.com/forum/viewtopi ... 22&t=85070
Red Deer, Alberta, Canada
'72 Ranger XLT, 4x2, 390-2V, C6, Wind blue & Wimbledon White (‘Smokey’)
2016 F150 Lariat FX4 Supercrew, Ruby Red
Follow my build thread for 'Smokey': http://fordification.com/forum/viewtopi ... 22&t=85070
- DuckRyder
- Moderator
- Posts: 4925
- Joined: Mon Jul 19, 2004 3:04 pm
- Location: Scruffy City
- Contact:
Re: Project 'Smokey' - '72 Ranger XLT
Keep the pictures coming
Robert
1972 F100 Ranger XLT (445/C6/9” 3.50 Truetrac)
"An unarmed man can only flee from evil, and evil is not overcome by fleeing from it." -- Jeff Cooper
1972 F100 Ranger XLT (445/C6/9” 3.50 Truetrac)
"An unarmed man can only flee from evil, and evil is not overcome by fleeing from it." -- Jeff Cooper
- Bullitt74
- Preferred User
- Posts: 430
- Joined: Thu Sep 22, 2016 5:34 pm
- Location: Red Deer, Alberta, Canada
Re: Project 'Smokey' - '72 Ranger XLT
So I took your advice after all, fabricated a new MDF base plate, and reinstalled. Unfortunately the sound went quieter and quieter, and now completely dead. Have power to the head unit, but nothing to speakers.DuckRyder wrote:Theoretically it would definitely make a difference in the frequency range of the woofer cone...
Practically in such a small speaker in what is already a subpar location I don’t really know, possibly.
Ideas about how to address:
1) cut plate out of thin plastic metal or ply with holes for speakers smaller that the actual speaker so that it seals on the gasket surface on the speaker.
2) packing the gap between the mounting plate and speaker with foam tape would help
3) a company named XTP (IIRC) makes foam offer surrounds that could be used.
It might be possible to do 2) without taking the whole thing back apart....
I knew I shouldn't have messed with it...any ideas?
Steve F.
Red Deer, Alberta, Canada
'72 Ranger XLT, 4x2, 390-2V, C6, Wind blue & Wimbledon White (‘Smokey’)
2016 F150 Lariat FX4 Supercrew, Ruby Red
Follow my build thread for 'Smokey': http://fordification.com/forum/viewtopi ... 22&t=85070
Red Deer, Alberta, Canada
'72 Ranger XLT, 4x2, 390-2V, C6, Wind blue & Wimbledon White (‘Smokey’)
2016 F150 Lariat FX4 Supercrew, Ruby Red
Follow my build thread for 'Smokey': http://fordification.com/forum/viewtopi ... 22&t=85070
-
- New Member
- Posts: 83
- Joined: Fri Apr 14, 2017 10:33 pm
- Location: Anderson, Indiana
Re: Project 'Smokey' - '72 Ranger XLT
I would assume that the Rockford Fosgate ohm rating matches up to the output of the head unit. Amps can support a range of ohm ratings, but head units typically cannot...and can result in sound fade. I doubt that's the case here, just added info. The more common issue on my radar is propper grounding. I'm not real familiar with this head unit, but very interested in one for my '72 LWB.
- DuckRyder
- Moderator
- Posts: 4925
- Joined: Mon Jul 19, 2004 3:04 pm
- Location: Scruffy City
- Contact:
Re: Project 'Smokey' - '72 Ranger XLT
Aftermarket speakers should be 4 ohm, and modern head units should be designed for the same. I would suspect a bad head unit from the description.
Robert
1972 F100 Ranger XLT (445/C6/9” 3.50 Truetrac)
"An unarmed man can only flee from evil, and evil is not overcome by fleeing from it." -- Jeff Cooper
1972 F100 Ranger XLT (445/C6/9” 3.50 Truetrac)
"An unarmed man can only flee from evil, and evil is not overcome by fleeing from it." -- Jeff Cooper
-
- New Member
- Posts: 134
- Joined: Sun Mar 27, 2016 7:55 pm
Re: Project 'Smokey' - '72 Ranger XLT
My cousin had two bad ones similar to that one in his 61 starliner before he got one that worked.
68 f100 390 3 speed on the collom G maw gave to me G paw drove in late 70s till late 80s
77 bronco 302 lifted 5.5 with 33s and rears cut
69 Mustang boss 302 clone bought when was 14 sold when was 28 to build house
77 bronco 302 lifted 5.5 with 33s and rears cut
69 Mustang boss 302 clone bought when was 14 sold when was 28 to build house
- Bullitt74
- Preferred User
- Posts: 430
- Joined: Thu Sep 22, 2016 5:34 pm
- Location: Red Deer, Alberta, Canada
Re: Project 'Smokey' - '72 Ranger XLT
Quick update - because I'm only using the front speaker wires, the rear ones were bundled-up behind the head unit. They must have touched each other and created a short-to-ground fault, which activated the head unit's protection mode. After conversing with Custom Autosound's tech support, they gave me the process to unlock, which involves hooking up one speaker, then the other. I also unplugged the unit from power overnight to see if that would reset the unit. When I tried this morning, everything was dead - including the battery , which could have been the problem to start with.DuckRyder wrote:Aftermarket speakers should be 4 ohm, and modern head units should be designed for the same. I would suspect a bad head unit from the description.
So I taped up the rear wire connections, put a charger on the battery, and hooked up one speaker at a time to 'unlock' it from protection mode. Either one or all of the above seemed to have worked, because it is now functioning again . Now just have to put everything back together, and hopefully it will all work again...
At the end of the day, no matter what the cause of this fault, it was worthwhile to discover the issue with the rear leads which have / will eventually cause a short-to-ground fault, and would be much tougher to deal with once the dash is assembled.
Steve F.
Red Deer, Alberta, Canada
'72 Ranger XLT, 4x2, 390-2V, C6, Wind blue & Wimbledon White (‘Smokey’)
2016 F150 Lariat FX4 Supercrew, Ruby Red
Follow my build thread for 'Smokey': http://fordification.com/forum/viewtopi ... 22&t=85070
Red Deer, Alberta, Canada
'72 Ranger XLT, 4x2, 390-2V, C6, Wind blue & Wimbledon White (‘Smokey’)
2016 F150 Lariat FX4 Supercrew, Ruby Red
Follow my build thread for 'Smokey': http://fordification.com/forum/viewtopi ... 22&t=85070
- Bullitt74
- Preferred User
- Posts: 430
- Joined: Thu Sep 22, 2016 5:34 pm
- Location: Red Deer, Alberta, Canada
Re: Project 'Smokey' - '72 Ranger XLT
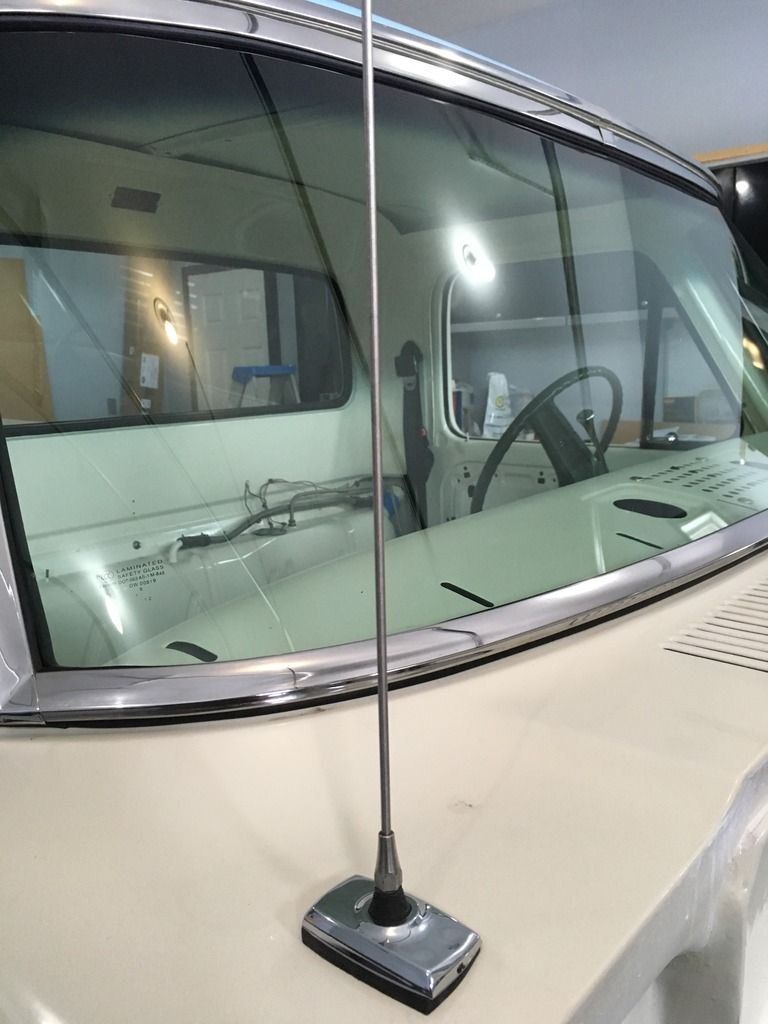
Installed my antenna - I can’t remember what year I pulled this one off...might have been early 90’s. Anyway, I like these whip style ones. I don’t quite get how the “tear drop” cross section ones are so coveted...they seem like they would break off at the base in a strong wind or the car wash...
Radio is now working.
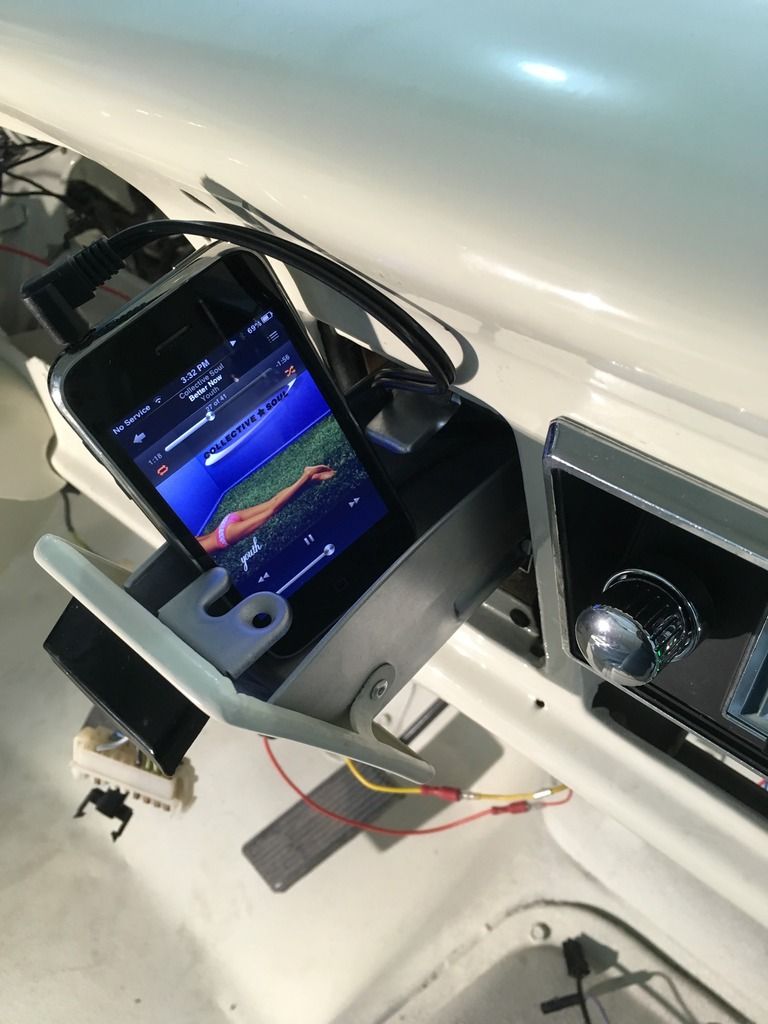
Need a holder for my iPhone/iPod...
Radio is now working.
Need a holder for my iPhone/iPod...
Steve F.
Red Deer, Alberta, Canada
'72 Ranger XLT, 4x2, 390-2V, C6, Wind blue & Wimbledon White (‘Smokey’)
2016 F150 Lariat FX4 Supercrew, Ruby Red
Follow my build thread for 'Smokey': http://fordification.com/forum/viewtopi ... 22&t=85070
Red Deer, Alberta, Canada
'72 Ranger XLT, 4x2, 390-2V, C6, Wind blue & Wimbledon White (‘Smokey’)
2016 F150 Lariat FX4 Supercrew, Ruby Red
Follow my build thread for 'Smokey': http://fordification.com/forum/viewtopi ... 22&t=85070
- Bullitt74
- Preferred User
- Posts: 430
- Joined: Thu Sep 22, 2016 5:34 pm
- Location: Red Deer, Alberta, Canada
Re: Project 'Smokey' - '72 Ranger XLT
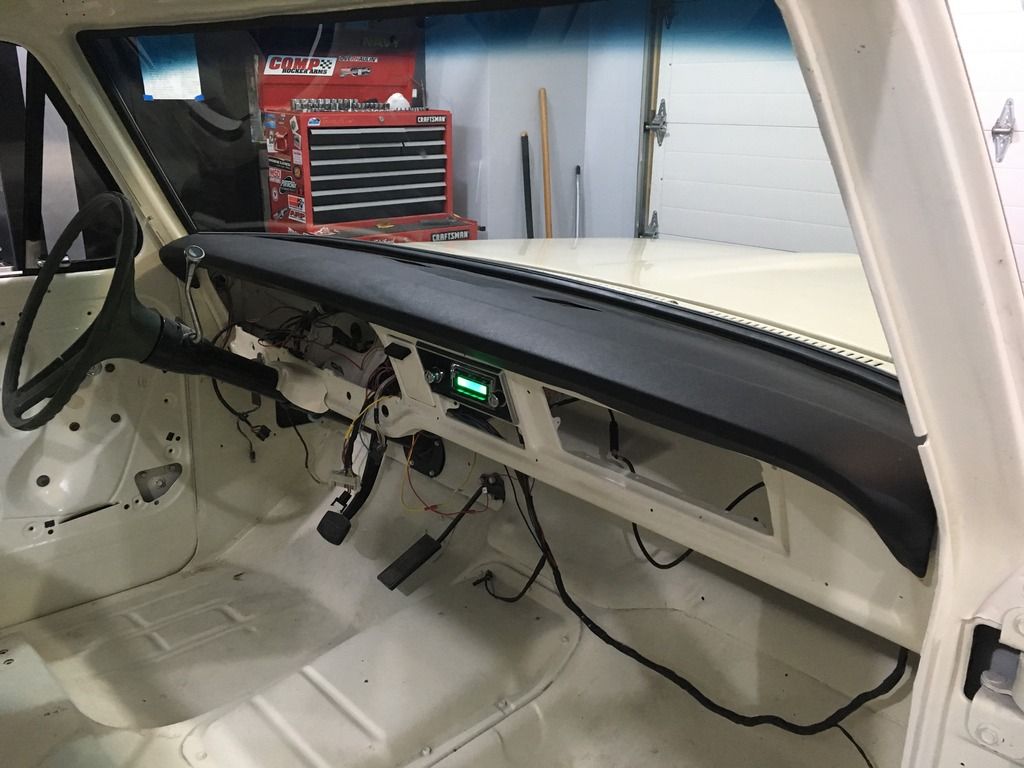
Tackled my dash pad tonight:
Funny thing - I picked this up at a swap meet as a new reproduction piece, and it was installed on Smokey before the repaint. I think it might be a ‘second’, but no way to know for sure. Anyhow, I find it interesting that the studs are M5, and the old hardware is imperial. I used some new M5 nylon locker nuts and a large and a smaller flat washer to ensure it was held in place tight. This one may have warped a bit in storage, because it didn’t fit as well as I remembered. Oh well, if it isn’t cracked and beat up, that is probably a win, right?
Steve F.
Red Deer, Alberta, Canada
'72 Ranger XLT, 4x2, 390-2V, C6, Wind blue & Wimbledon White (‘Smokey’)
2016 F150 Lariat FX4 Supercrew, Ruby Red
Follow my build thread for 'Smokey': http://fordification.com/forum/viewtopi ... 22&t=85070
Red Deer, Alberta, Canada
'72 Ranger XLT, 4x2, 390-2V, C6, Wind blue & Wimbledon White (‘Smokey’)
2016 F150 Lariat FX4 Supercrew, Ruby Red
Follow my build thread for 'Smokey': http://fordification.com/forum/viewtopi ... 22&t=85070
- Ranchero50
- Moderator
- Posts: 5799
- Joined: Wed Nov 08, 2006 7:02 pm
- Location: Maryland, Hagerstown
- Contact:
Re: Project 'Smokey' - '72 Ranger XLT
California Mustang was selling those as repro's a couple years ago. I ended up with one and the studs didn't line up with the holes. Foam rubber felt like a soggy dog toy, not stiff like the OEM ones. I ended up selling it and installed a nicer original. PITA to deal with all those little studs.
'70 F-350 CS Cummins 6BT 10klb truck 64k mile Bahama Blue
Contact me for CNC Dome Lamp Bezels and Ash Tray pulls.